“You didn’t get the quest you wanted, you got the one you could do.”
― The Magician King
Every so often our shop will get calls to put a new handle on an old knife. We always make every effort to do as many of these as we can.
The ability to make something broken work in the way that it once did is a virtue. This is especially true when the something that was broken is special to someone. In most instances it’s pretty easy to replace what was broken, but the sentiment becomes lost. Whenever possible I always try to fix what is broken, especially in the shop.
I treat these repair jobs as an exercise in incorporating as many broken or discarded things as possible into the finished product- it gives something totally unique back to the client. Our jobs as craftsmen are to give a voice to our materials, allowing them to speak for themselves. Many times we don’t choose what comes to us but nonetheless it is our job to turn what comes our way into something beautiful. Making something better than it was before-this is the goal of a skilled craftsman. For those in the know, these are the things that put the color in our world.
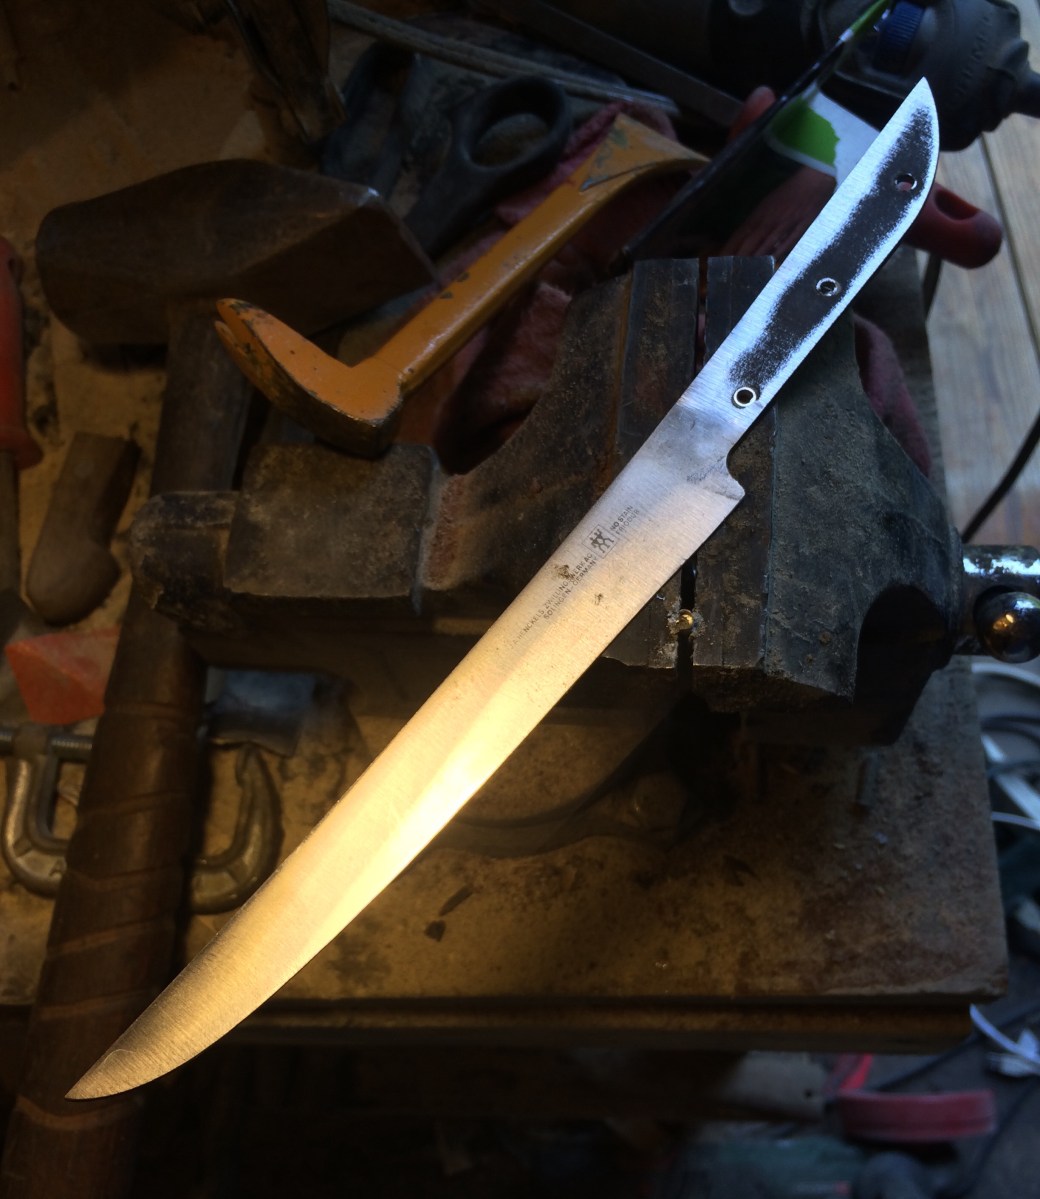
A gentlemen contacted us about re-handling an old boning knife he got in the 1970’s. It was an old Zwilling knife, made from good Solingen steel, with Zwilling’s proprietary ‘Friodur’ subzero tempering process. The handle had cracked, as natural materials tend to do over the years.
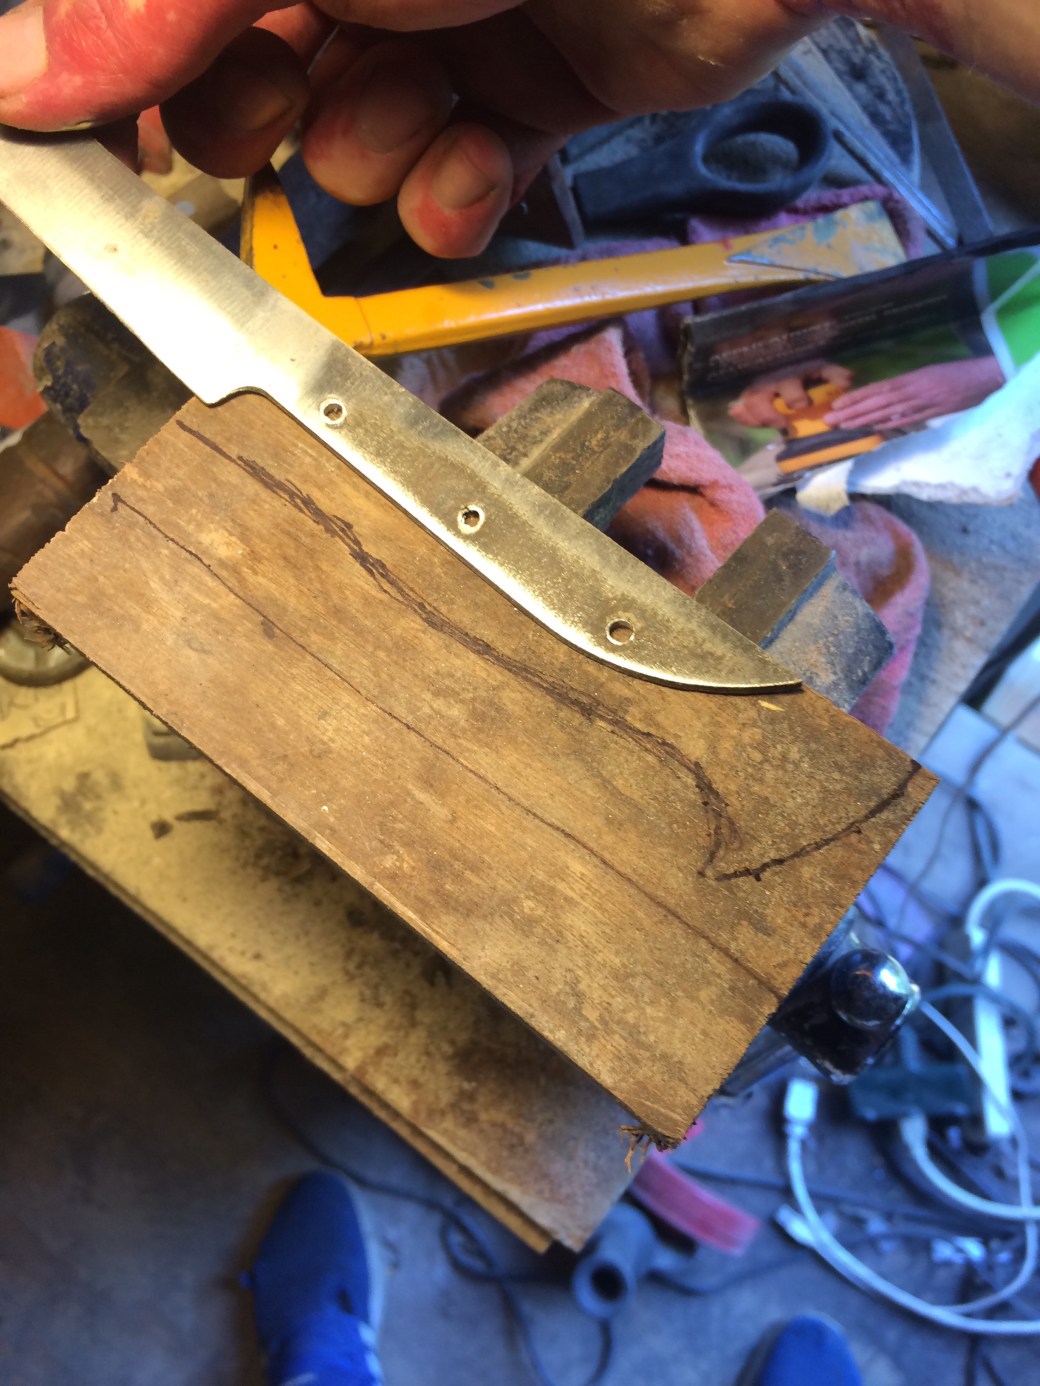
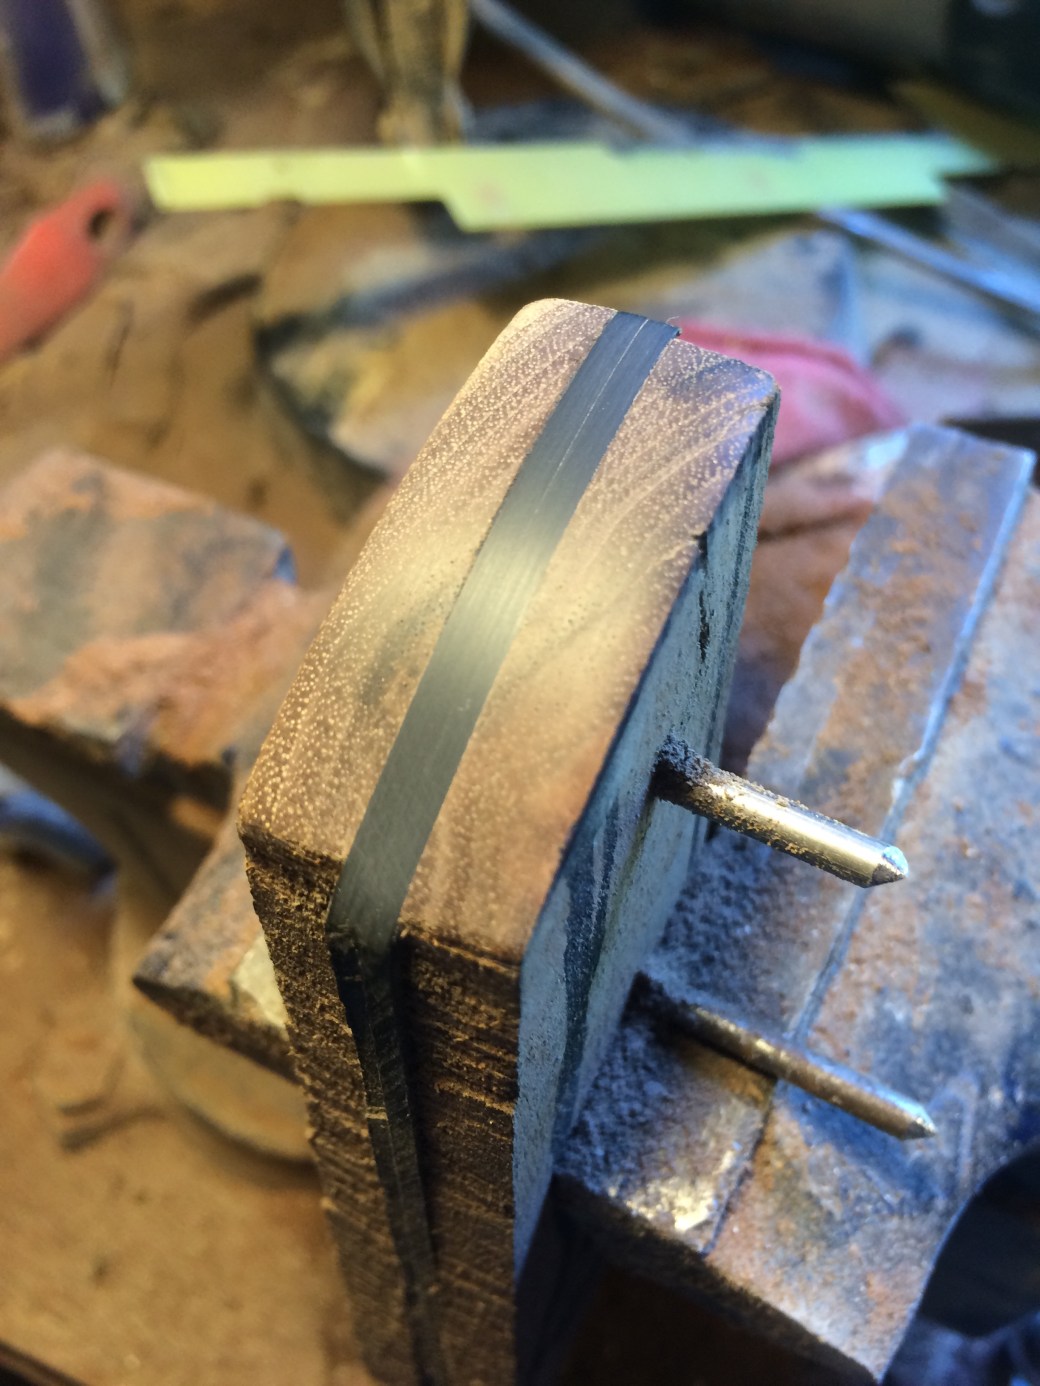
This one was partial tang, meaning the metal in the handle doesn’t run the complete length of the handle:


First, we remove the old handle and the rivets:
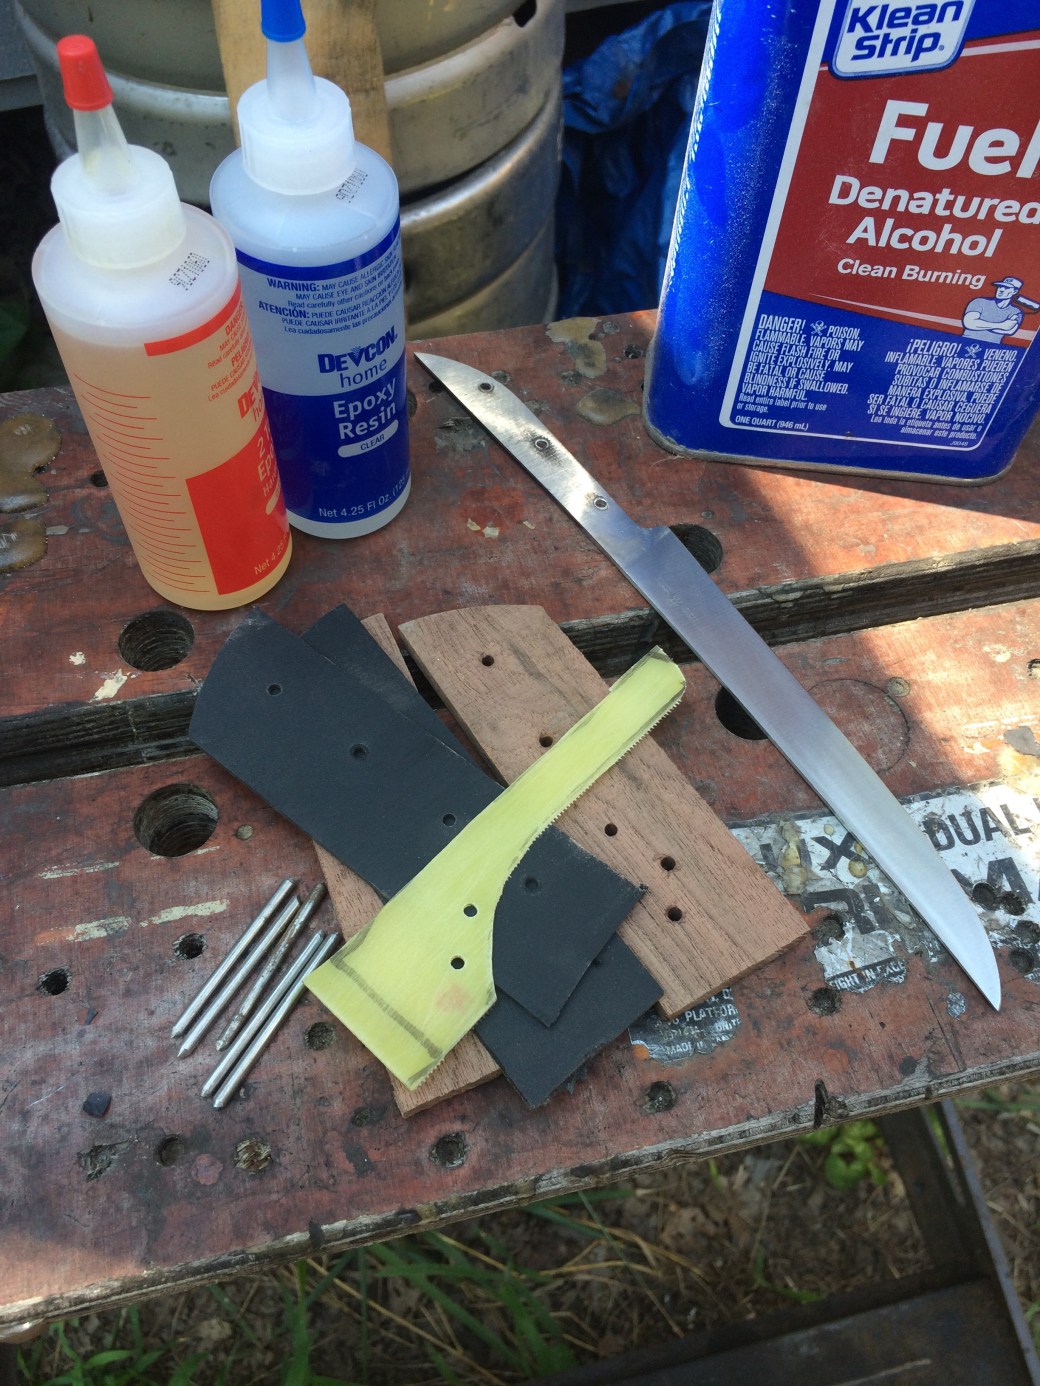
For the handle we’re going to use Black Walnut, which was formerly a baseboard salvaged from an abandoned house in North Carolina:
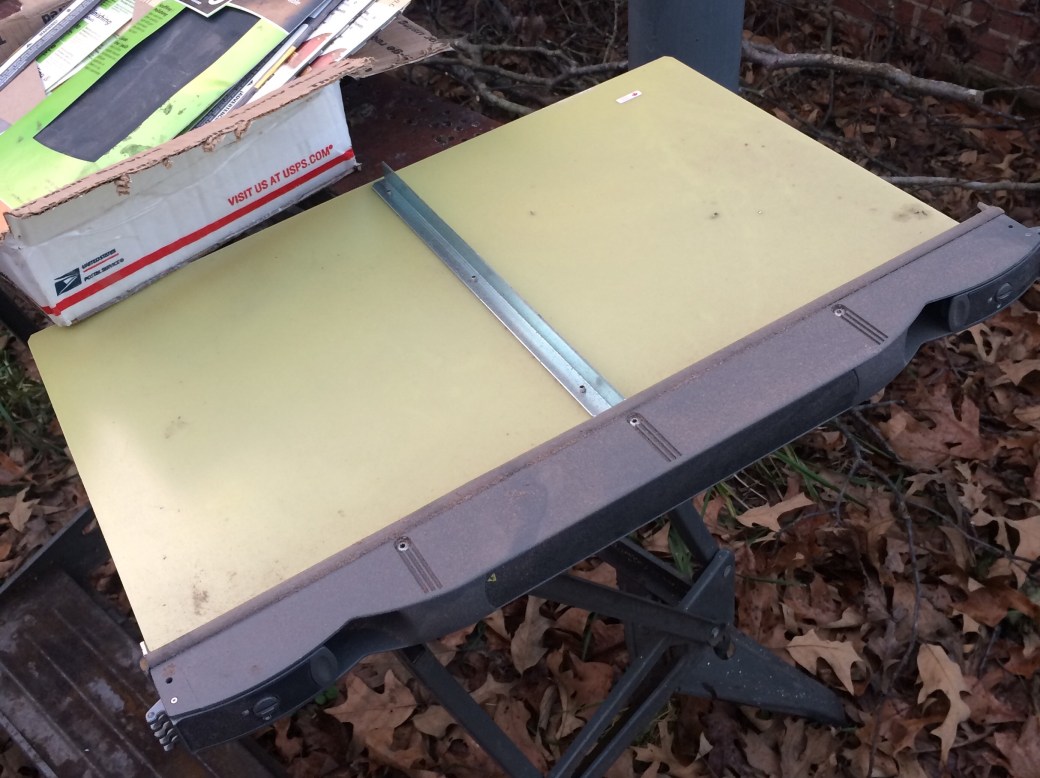
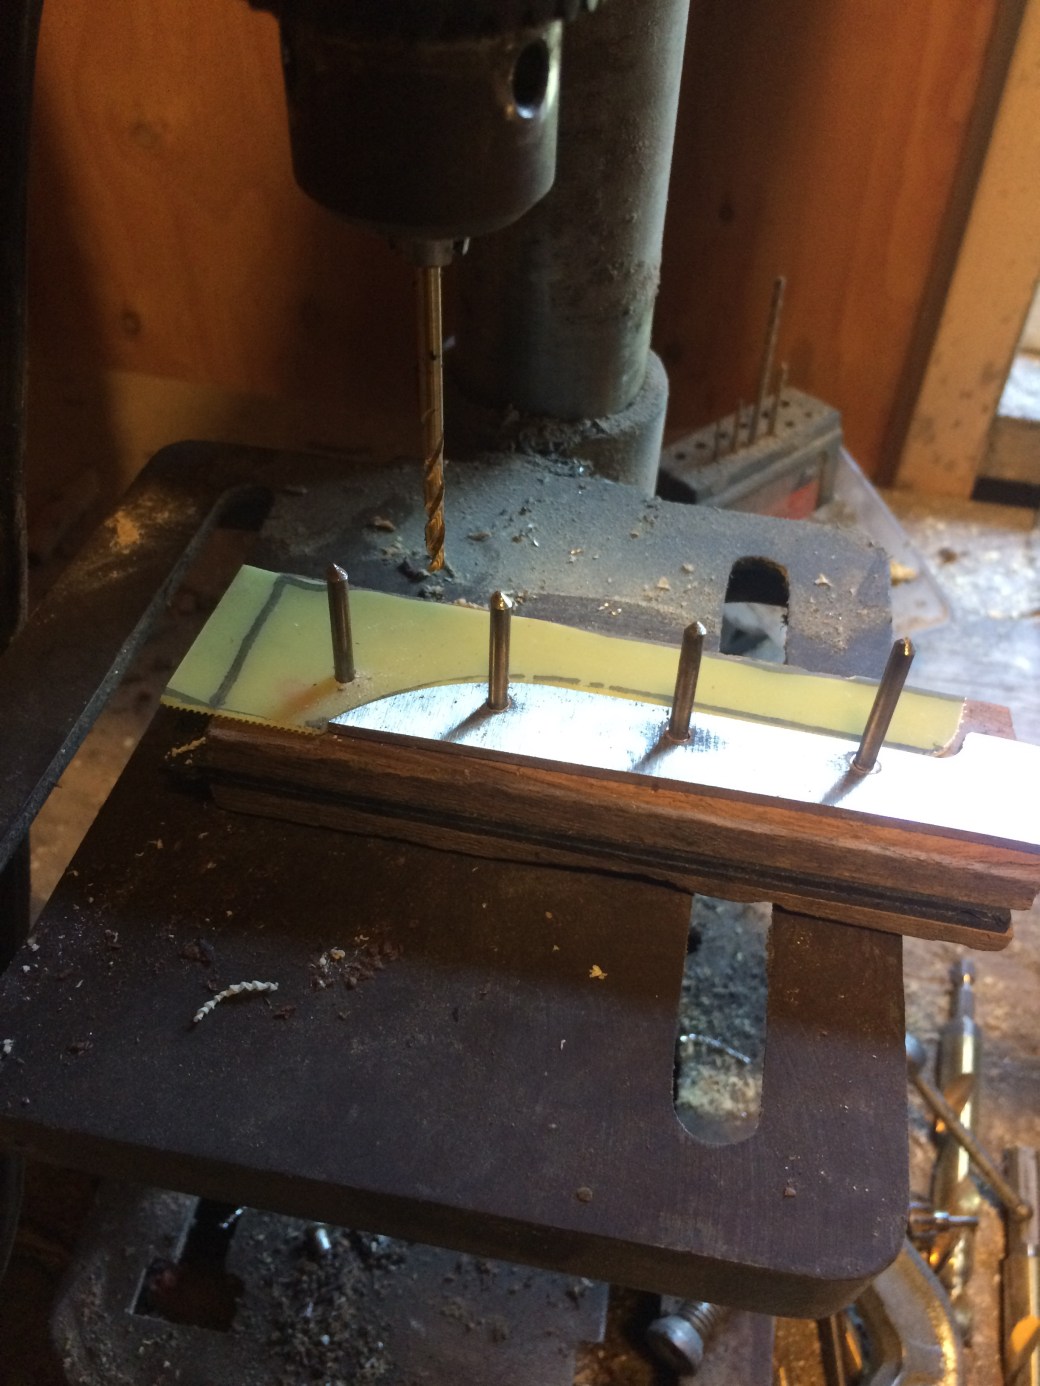
To extend the tang, we’re going to use a fiberglass computer board spacer which I dug out of a dumpster at one of my workplaces. Though it looks yellow, it will turn green as it’s polished:
Drilling the rivet holes. The black spacing material is a heavy plastic that came from an office mail separator:
This is the top of the handle, closest to the ricasso of the blade, of the belt sander at 40 grit:

Sanded from 60 to 800 grit:
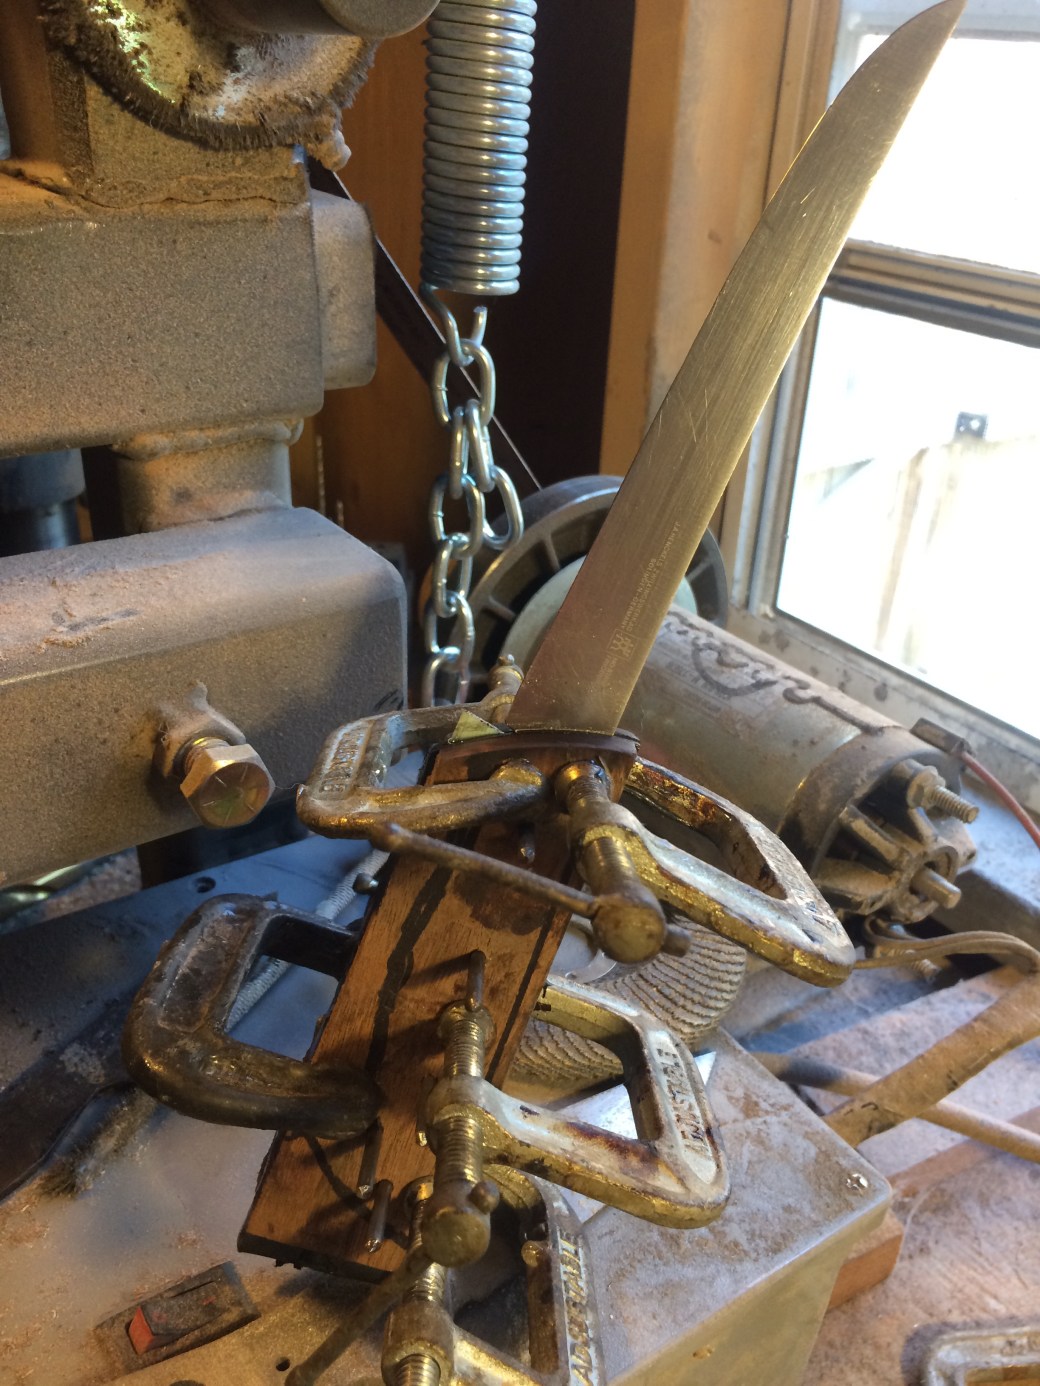
Ready for glue up:
Glued and clamped:

Roughly profiled:
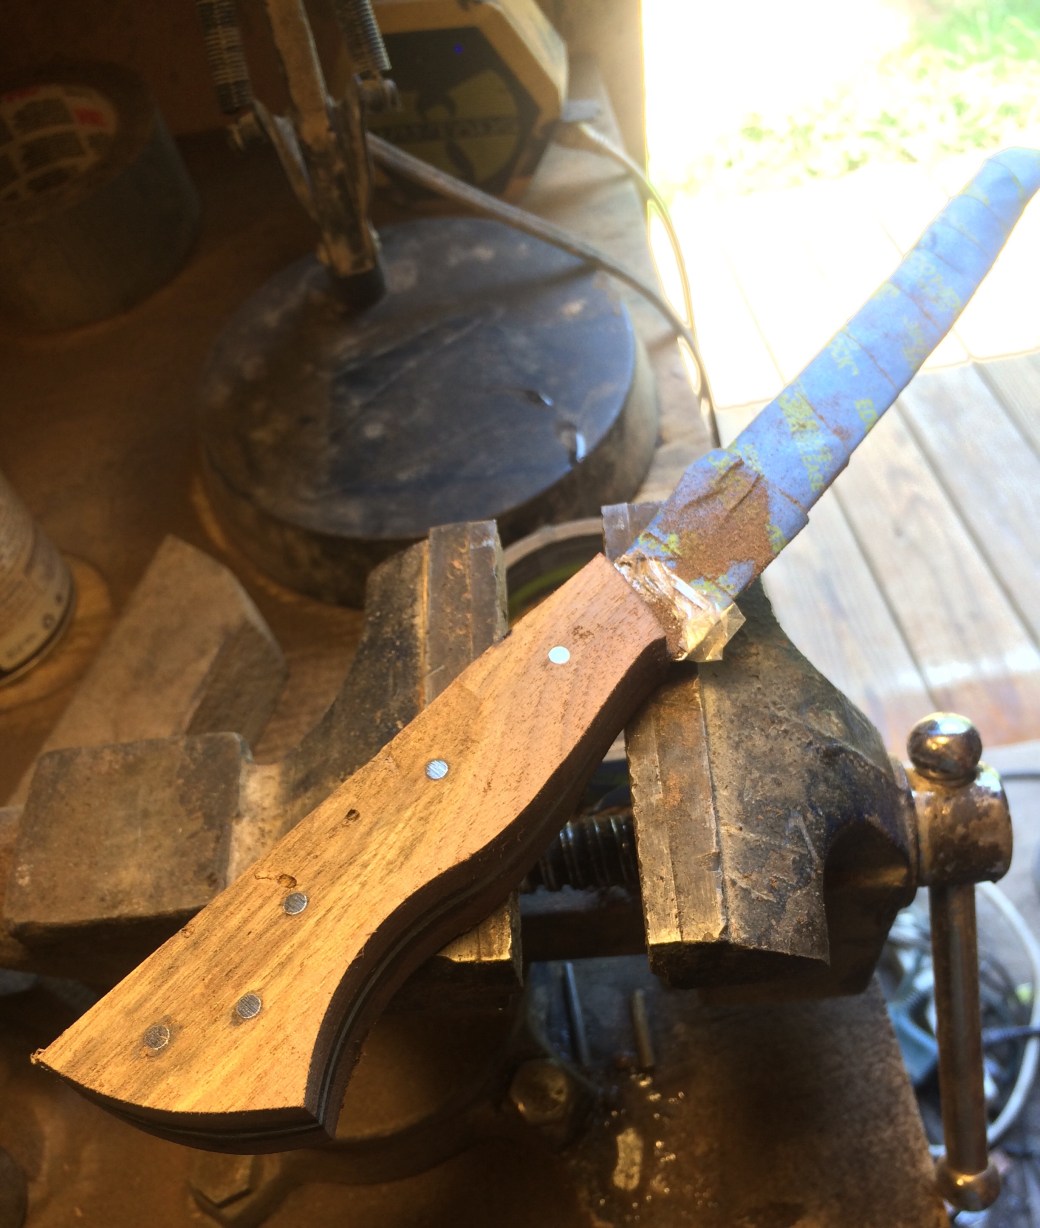
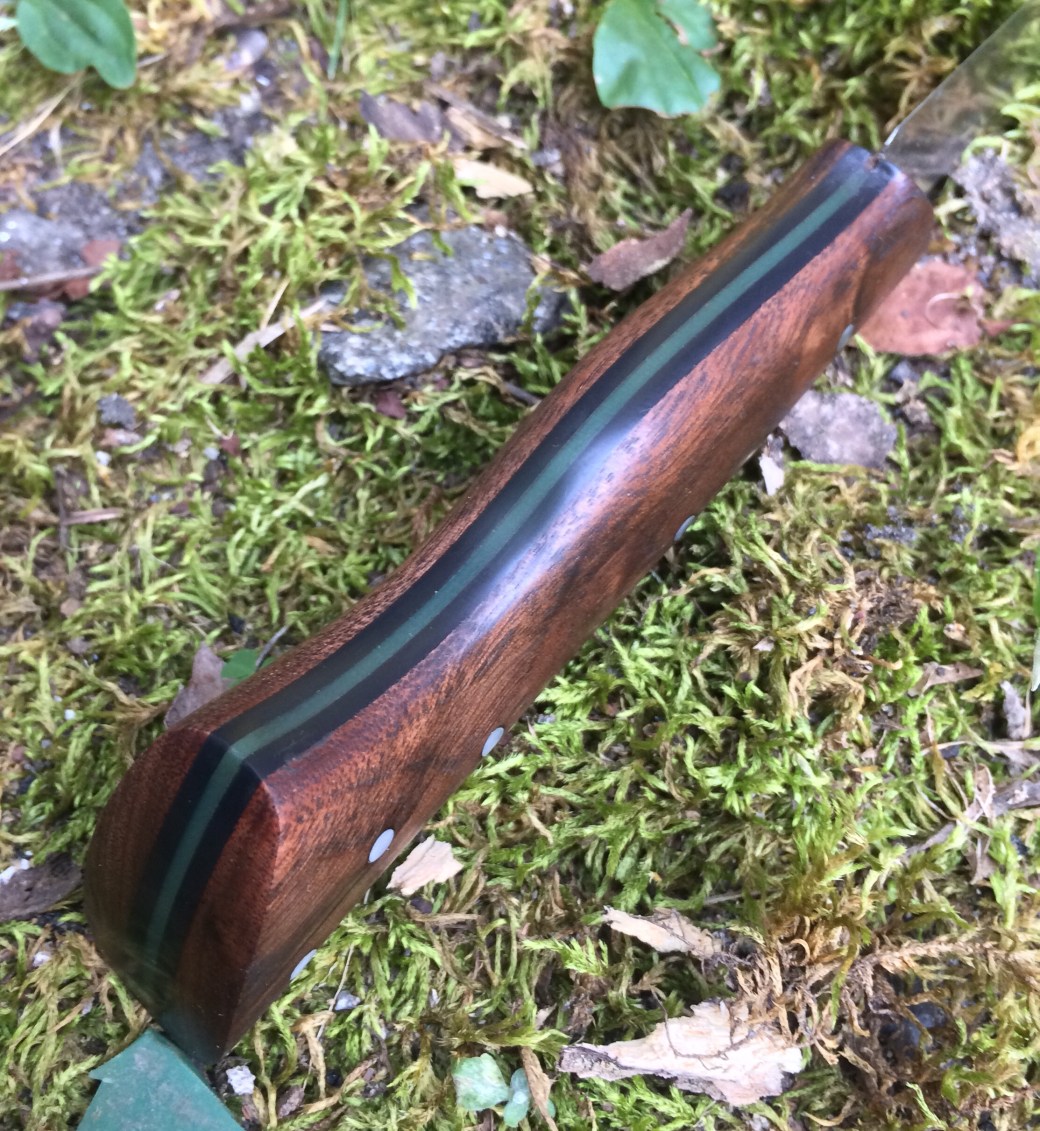
Shaped to the desired shape. The rest of the work will be done by hand, starting with 80 grit sandpaper and going up to 2000 grit.

Finished, sealed, and oiled:


Always take the opportunity to create something beautiful.
